
Bio:
Tracey is a senior Art Clay instructor and artist with more than 13 years teaching experience. She delivers with passion and enthusiasm! You can find her at her own studio www.craftworx.co.uk and traveling the world about creating art.
Tracey trained in fashion design and textiles, working in the industry for a short time. She then moved onto teaching various arts and crafts in adult learning through colleges before discovering metal clay.
She writes articles for jewelry magazines and works as a demonstrator for a major craft exhibition company. In addition to all of this, she holds the a post of Education Co-coordinator on the Art Clay Guild UK where she monitors and evaluates for the certification program.
To connect with Tracey: tracey@craftworx.co.uk
Step by Step – Faux Enamel Techniques on Metal
Would you love to apply color to your metal but you just don’t know how to enamel or have the time to do this on your piece?
There are so many options of mix media to getting colour into our jewellery and metal clay designs. Here is a range of new products that offer a fabulous effect.
STEP 1
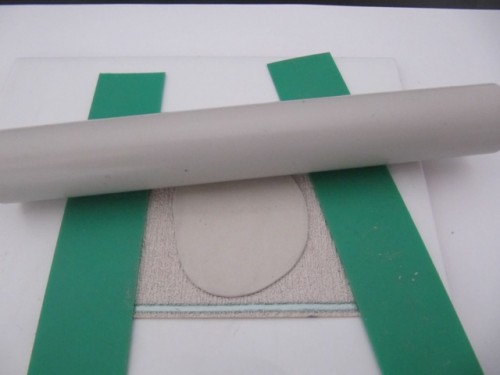
Get prepared with all your tools and equipment. Lightly oil or badger balm the texture plate, I have selected a textured wallpaper to use. Roll out the clay using Pam East’s Colored Slats which are .75mm thick or 3 cards thick.
Want more information about slats versus cards? Check out this informative blog post.
Step 2
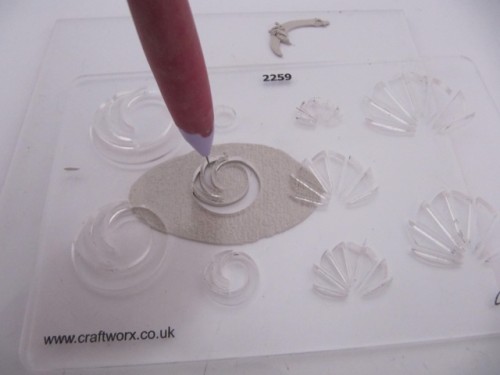
Lightly balm a template # 2259 template. to prevent it from sticking to the clay, dip the needle tool into the badger balm or oil, this helps the tool glide through the clay.
Remember to hold the needle tool at 90º to the work surface; this will pierce out clean spaces without bevels.
The template will hold the positive portion of the clay firmly in place as you outline the negative portions that will be removed. Remove the negative portion of the design out of the template after you outline that section. To pick out the unwanted clay lower the needle tool to a very shallow almost horizontal angle, using the tip of the needle pick into the clay to lift it away.
Check the piercing has a clean finish this will reduce the need for filing. Repeat this piercing technique to make one large piece for the pendant and two book end earrings.
STEP 3
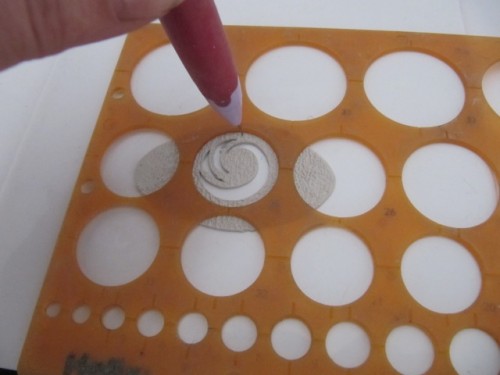
Next use a cookie cutter or a circle template to cut out the outline of the pieces. Set all pieces aside to dry.
STEP 4
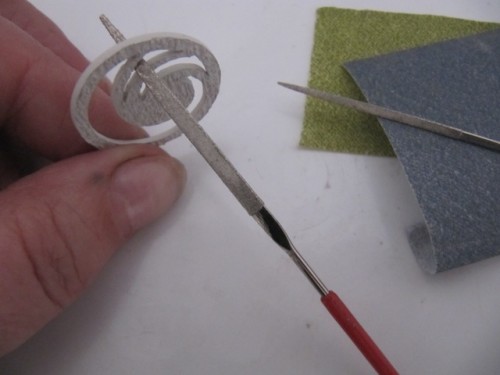
Once dry, gently refine the edges of the negative space and outside edges of each of the pieces. I use toothpick size fine diamond files and 3m polishing papers to access the awkward angles and spaces.
STEP 5
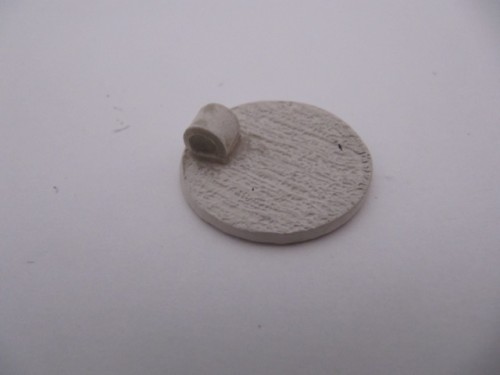
To make the back plate of the design, roll out the clay onto a oil or badger balm coated texture, .75mm thick (3 cards).
Transfer the clay placing texture side down onto a work surface. This will assure that the texture remains on the back of the piece and you don’t inadvertently cover it with the positive/negative design.
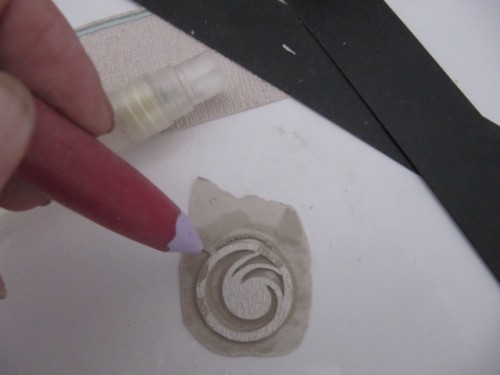
Use a paint brush to apply a little water to the non-textured back plate. Place the positive/negative frame onto the wet clay. Very gently firm down the frame onto the wet clay, holding for approximately 1 minute.
Using the needle tool again, trim around the outer edge of the frame to remove the excess clay.
STEP 6
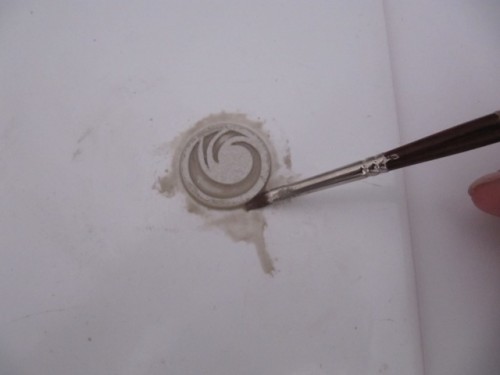
Apply a wet paint brush around the outer rim of the frame, this will seal the two layers together and reduce the amount of sanding and refining needed.
Step 7
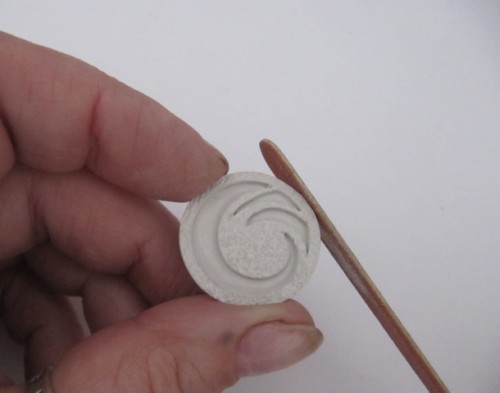
File, sand and refine the outer rim, with files or a gently wipe with a baby wipe to clean up the edges.
Step 8
To create the bail for the pendant, attach a small bridge or loop. For the earrings I have sterling silver wire soldered on after firing to create the ear post.
Step 9
The three pieces were then fired per the manufactures instructions.
Ear posts were soldered to the earrings.
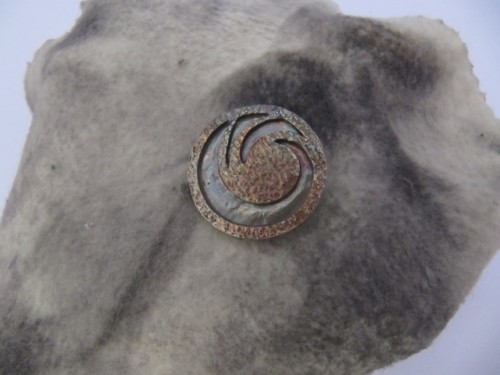
Oxidize the three pieces using liver of sulfur.
Polish the pieces with Glanol and a polishing cloth. All the polishing must be complete before adding the color.
Step 10
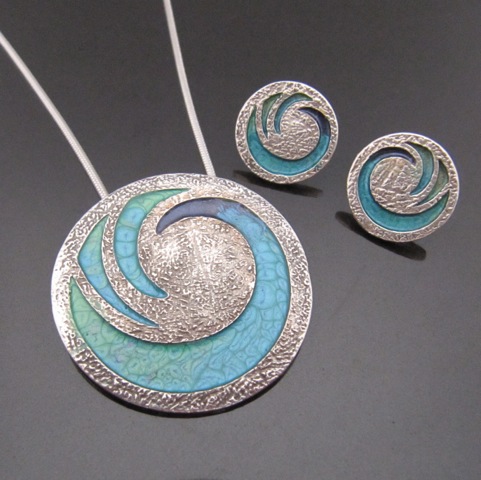
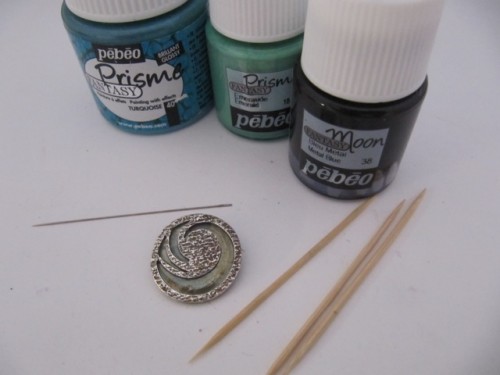
Prepare the Pebeo products using a cocktail stick stir them thoroughly before use. I selected Fantasy Prisme Turquoise, Emerald and Fantasy Moon Metal Blue.
Step 11
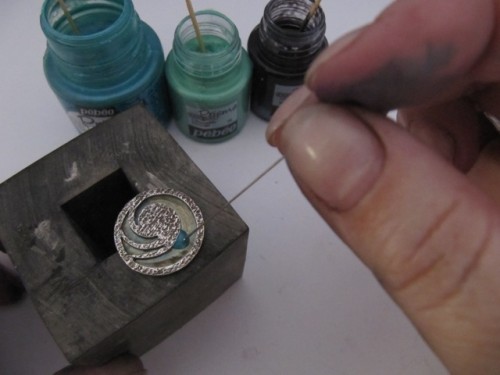
To add the Pebeo product color to the cells, first ensure that the pieces are level during application and while the product dries.
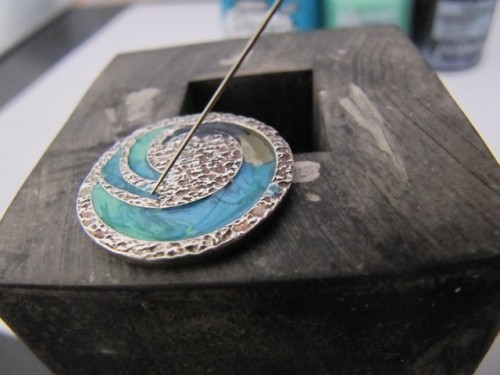
To control the application of the product into the cells, Pick up a tiny amount of product on a fine needle, and allow the excess to drip off back into the pot, then move the needle and allow it to drip into the cell.
STEP 12
The product might need a little persuasion to travel into the acute corners. To assure coverage simply drag the product with the needle into place.
Now be patient and allow it to dry for approximately 48 hours. The product will recess as it dries and you might want to apply a second coating.
The mottled or cellular effect appears as it dries.
Suggested materials:
- 20g Art Clay Silver
- Roller and non-stick worksurface
- Badger Balm or Olive Oil
- Textures
- brush and water
- design template 2259
- .75 mm spacer bars or 6 playing cards
- needle tool
- toothpicks
- A fine beading needle.
- Diamond Toothpick Files
- Assorted Sanding grits
- Assorted Polishing papers
- Tumble polisher or 3M Radial Disc
- Liver of sulfur, polishing creme, and polishing cloth
- earring posts
- solder and torch
- Pebeo products Fantasy Prisme Turquoise & Emerald, also Fantasy Moon Metal Blue
Leave me a comment and be entered to win a drink on me at Starbucks and a free book from Lark Books! I’ll pick the winner the first week of May. All comments get an entry between now and the end of April.
Share it on FB or Twitter each as well! Make sure to tag your posts so we see them or they won’t count!
**I pay for shipping to any of the 48 contiguous states.



Wonderful tutorial – thanks so much for the freebies, they are much appreciated!
Interesting Tonya. To get the varigated colour, did you put drops of one colour then another, until enough there?
great tute! i can’t wait to try it! i have other pebeo products but have not tried these yet.
Thank you for this free tutorial, it is greatly appreciated. Way cool to boot!!
Thanks so much for the free step by step technique. I will use it soon. It is very detailed.
This is a wonderful product to work with. You would be hard pressed to tell the difference between traditional enamel and this!
This is a very complete tutorial. Tracey did a great job of providing a lot of information in a very succinct manner. I have to go buy some Pebeo Prisme!!!!!
Really Cool! And a beautiful job of presentation. Thank you.
Thank you for the tutorial! Hope to get to try it one day!
Great information. I learned a bunch! Thank you.
Wow – really like this tutorial. Have always wondered about using the Pebeo paints. Used their photographic coloring supplies but not these. Definitely am going to try this.
Thanks, glad you like it, drop the product in a little at a timetill it fills the cell.as it dries it refuces in volume .
Thanks for the tutorial. I’m always looking for ways to color metal.
Thanks–love the tutorial–photos are great. This last link–from your short survey–is the one that worked. For some reason, I kept missing this on my phone, PC etc. Many Thanks, Anne
THANKS FOR THE Tutorial looks a lot easier than doing real.enamel. Look forward to giving it a try.